
Here at nSide, we aim to ensure that school administrators and safety professionals can easily manage the various elements required to keep their schools safe. We also understand that things can be confusing and unclear sometimes. This is why we have created a Frequently Asked Questions list (Part 1 and Part 2) to hopefully answer any questions you may have about using the nSide platform!
How do I add a contact?
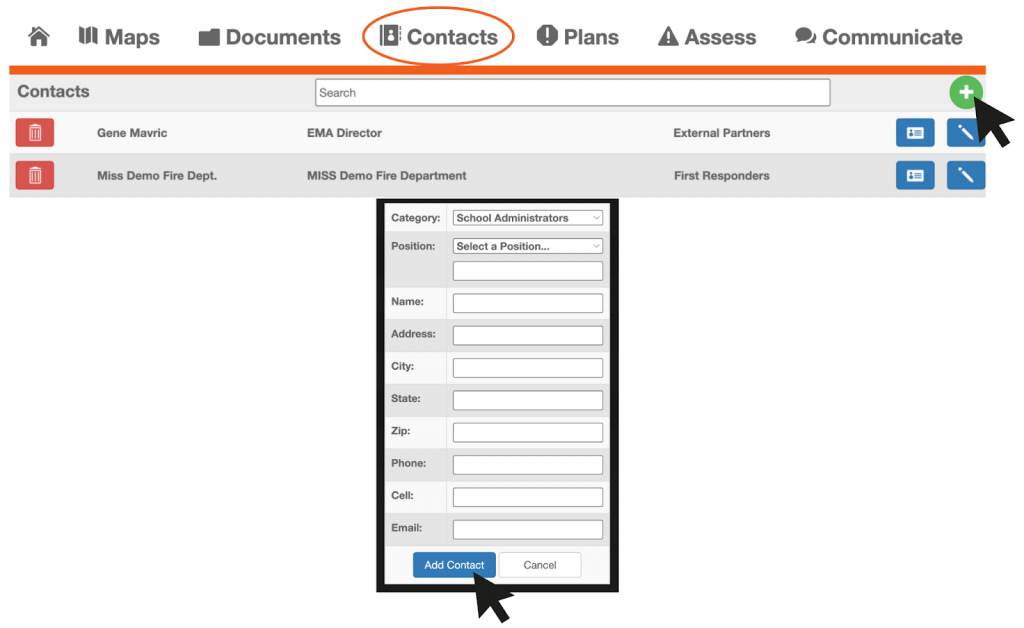
To add a contact:
- Navigate to the Contacts page of nSide.
- In the Contacts column, click the Add button (green plus sign icon)
- In the pop-up, fill out all information.
- Click the blue Add Contact button.
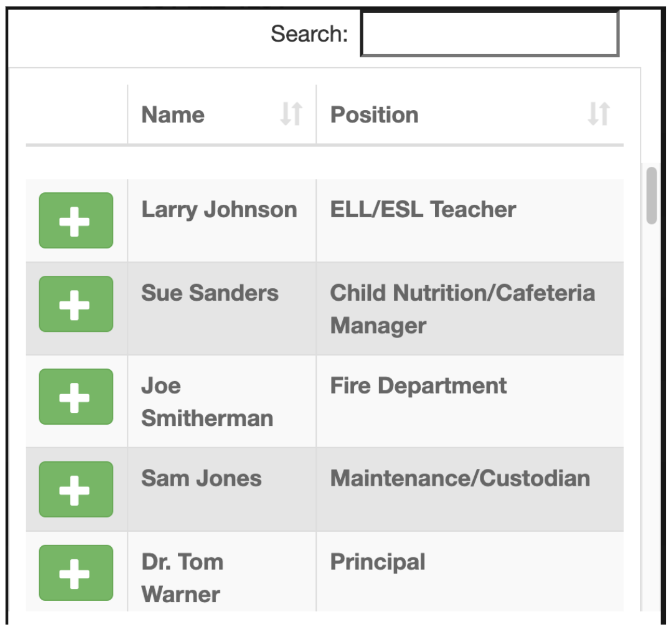
How can I organize my contacts?
The Contacts section consists of a school or district’s list of contacts of both contacts within the school system (ex: employees) and outside of the school system (ex: Local EMA groups, etc.).
Users have the ability to create categories for contacts in nSide. Users can make as many categories as they would like.
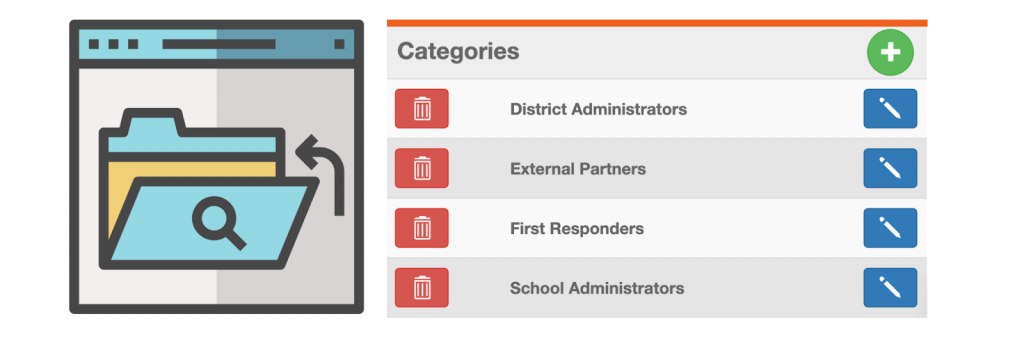
To create a Category:
- Navigate to the Contacts page in nSide.
- On the right side of the page, scroll to the Categories column.
- Click the Add button (green plus-sign icon).
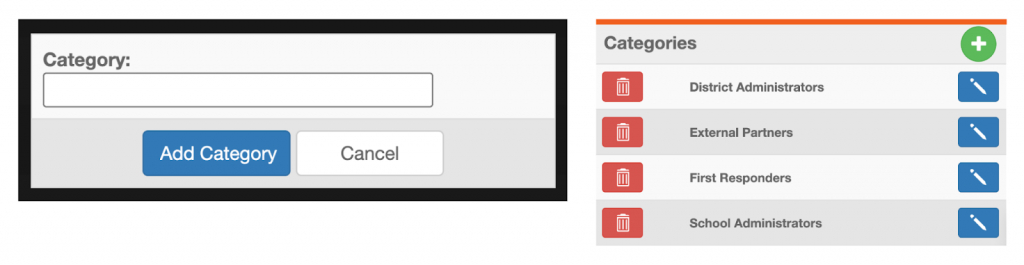
- In the pop-up, type in the name of the category you would like to create.
- Click the blue Add Category button.
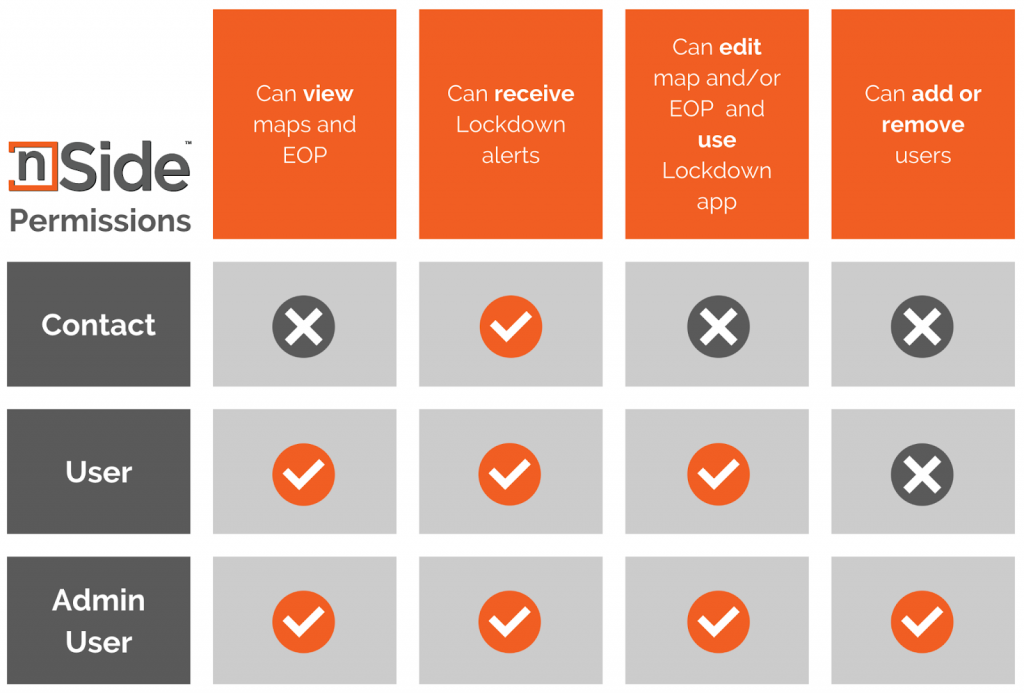
What is the difference between a contact and a user?
Contacts may include individuals within the school system (ex: employees) and outside of the school system (ex: Local EMA groups, etc.).
Users can be assigned to a particular district and/or school and have permissions set for their organization.
To better understand the difference between these two categories, refer to the following chart:
How do I assign a contact to our district or school’s EOP (Emergency Operations Plan)?
ALL contacts must be added under the CONTACTS tab of the nSide platform before any actions are taken to assign roles within the EOP.
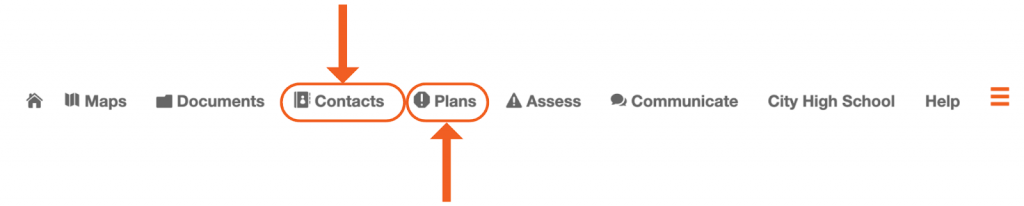
Once all contacts have been added under the CONTACTS tab, then you can navigate to the PLANS tab to assign the contacts roles within the EOP.
- Click on the Plans tab at the top of your page.
- Then click on the category you want to edit first. For example, you may want to start by organizing the EOP Core Planning Team and Emergency Telephone List:

At the top right corner, you will see a series of icons and buttons:

- Click on the green Add button.
- You will see a pop-up screen:
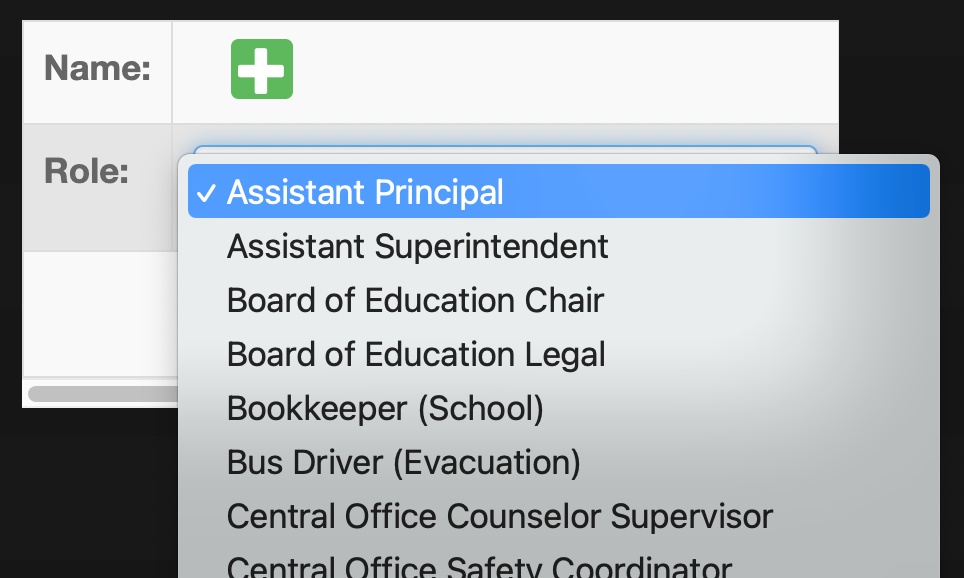
- First, choose the correct role for the contact you are adding.
- Then, click the green plus-sign icon to add the correct contact.
- NOTE: If you do not choose the role first, the contact will default to the title that was pre-selected.
- You will see a pop-up screen when you click the add button: